
Screenshot Focus Points
In this tutorial I’m going to be teaching you how to create those screenshot focus points that are used on many blogs these days to make lists of sites less boring :) We’ll be blurring around our focal point, and then distorting the screenshot so it looks 3D-ish.
Step 1
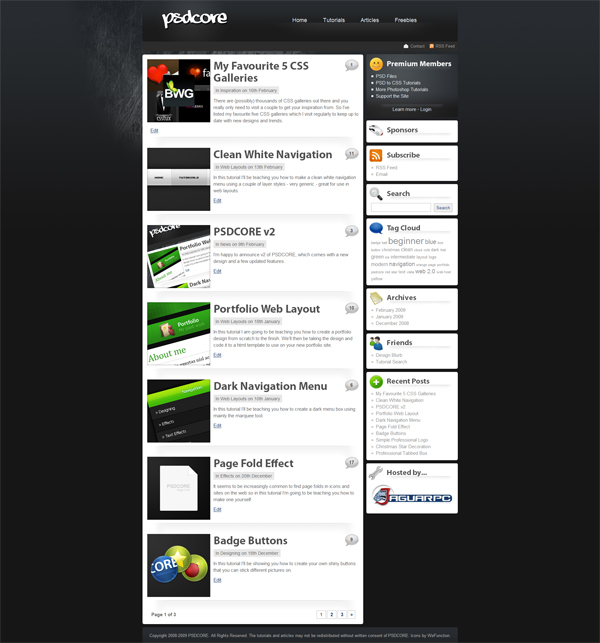
First of all, we need to take a screenshot of something, I’m going to be taking a screenshot of PSDCORE. The easiest way to do this is to use an addon to your browser, if you’re using firefox, then I suggest using the FireShot addon. Alternatively you can use the print screen button on your keyboard, open a new document in Photoshop, and paste. If your screen is smaller, you won’t be able to see as much on the sides of the design (and vice versa), don’t worry about that.
Step 2
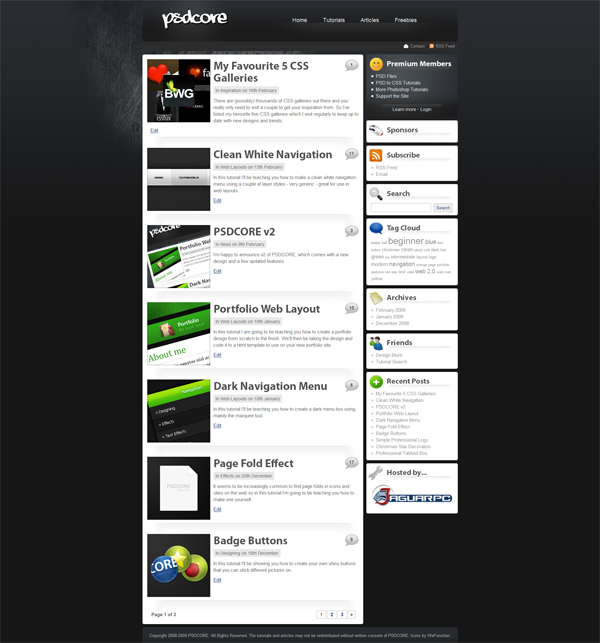
Now that we have our screenshot which is the size of your screen, we want to make it smaller, to do this go Image > Image Size. Because I want the end result to be 600 by 420 pixels, and later on we are going to be distorting this image, we need to have it a bit bigger than this – I have chosen a width of 700 pixels (and the height is automatically calculated).
Step 3
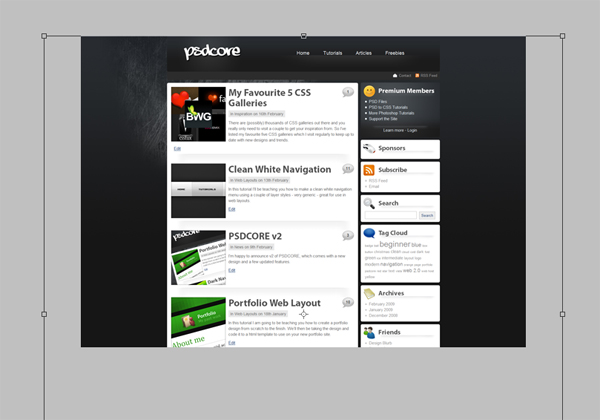
Thirdly, we are going to be creating the document to add our small screenshot into and add the effects to. Select all of the small screenshot (Ctrl + A) and copy it (Ctrl + C). Now create a new document 600 by 420 pixels, and paste the screenshot. You’ll notice that it doesn’t fit, and as mentioned before, that’s what we want.

Step 4
Now we are going to be distorting the image and putting it on an angle, to do this go Edit > Transform > Scale (Ctrl + T). You can now see the outline of the screenshot outside the document which is handy. Move the image to the center by left clicking in the rectangle and dragging.
Step 5
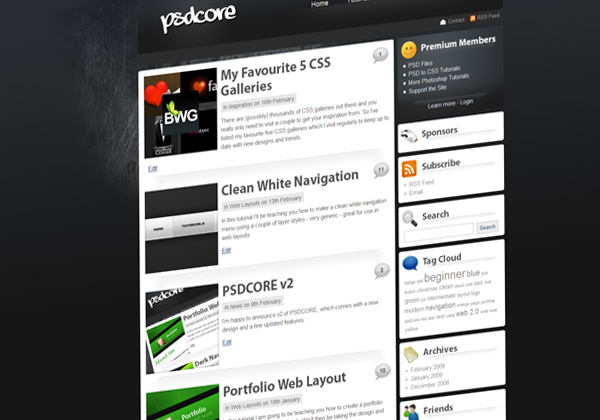
Right click your screenshot and go Distort, move the corners around until you get a desired effect (take a minute or two to familiarise yourself with the Distort tool if you havn’t done so before). Make sure that the outlines of the screenshot are all outside of the document, because otherwise you are going to have parts that are transparent/white (this is why we had a bigger screenshot that the document – to move it around).
Step 6
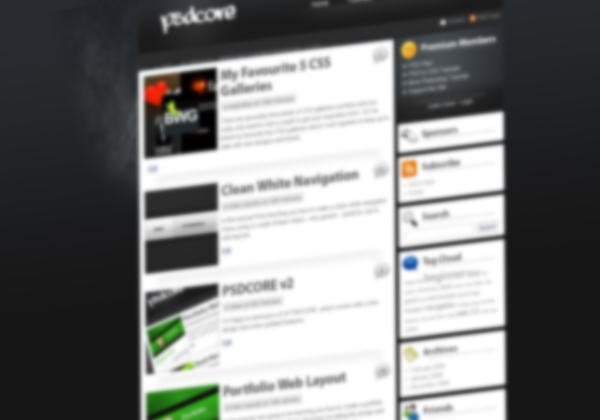
Now we are going to be blurring our screenshot, and then make our focal point clear. To do this, duplicate your layer by going Layer > Duplicate Layer (Ctrl + J). Now go Filter > Blur > Gaussian Blur with a radius of 2 pixels.
Step 7
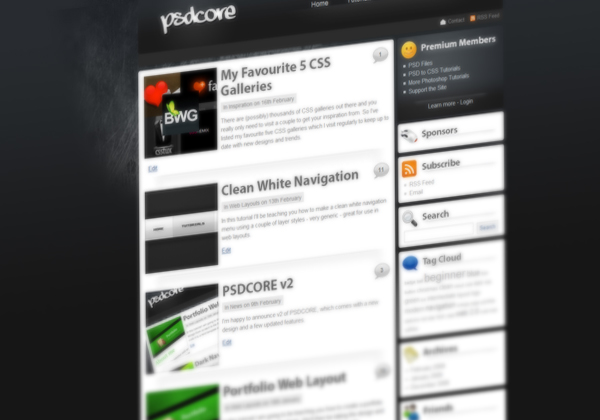
To unblur our focal point, we are going to erase part of the blurred layer using the erase tool (making the clear layer underneath to be seen). Select the erase tool, and using a large soft brush with an opacity of 50%, unblur about 1/3 of the layer about your focal point.
Step 8
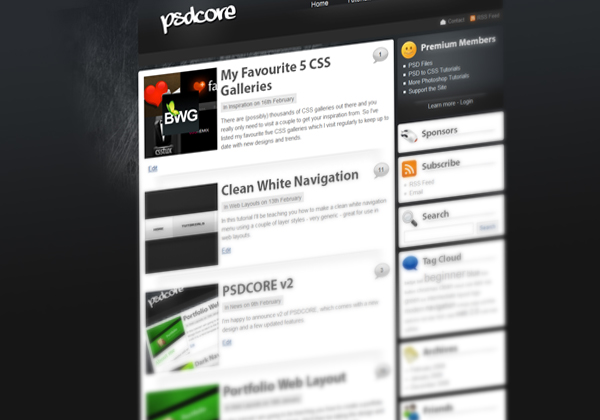
Now set the opacity of the erase tool 100% and erase in a smaller area about your focal point, this gives you a two-toned blur effect. To check out some more examples that you can do with this effect check out my last post on my favorite CSS galleries.


Didn’t even know there was such a great plugin! Thanks for this.
This one is awesome…great…keep it up
A great plugin for the screenshot application. Thanks for sharing this.
Check out Aviary as a nother app, I love it, and it opens an online editor for quick cropping, as well as multiple options on screen grabbing it. Also, it doesn’t matter if your screen size is too small, but the plugin you mentioned probably does it good as well.
Nice post all in all!
I’ve briefly seen Aviary around but not really tried it out myself – I should do so sometime :)