
Christmas Ball Decoration
It’s that time of the year again – getting ready for Christmas. So in this tutorial I’m going to be showing you how to create a christmas ball decoration that you could use for a personalised card or icon.
Step 1
Create a new document and fill the background with a green radial gradient. The colours I’ve used are #86a722 and #2d380d.

Step 2
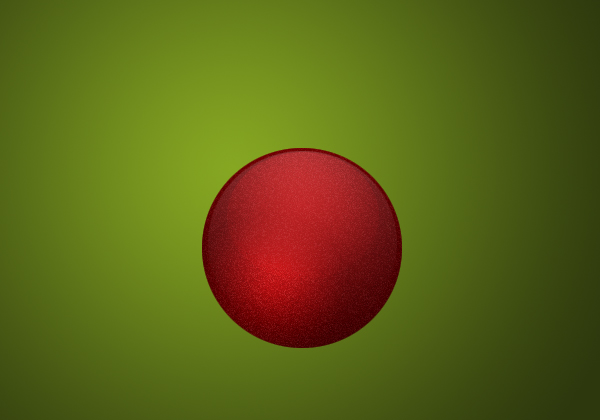
Create a new layer and select the elliptical marquee tool. Make a selection 200 by 200 pixels just below the middle of the document and fill with a red radial gradient using the colours #980204 and #400001.

Step 3
Most christmas ball decorations seem to have a texture to them (at least the one I’m basing this tutorial off), so we’re going to add some noise to our sphere. Duplicate the ball layer (Ctrl + J) and go Filter > Noise > Add Noise.
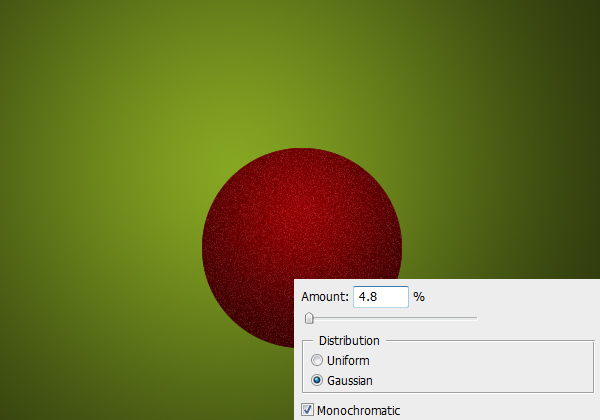
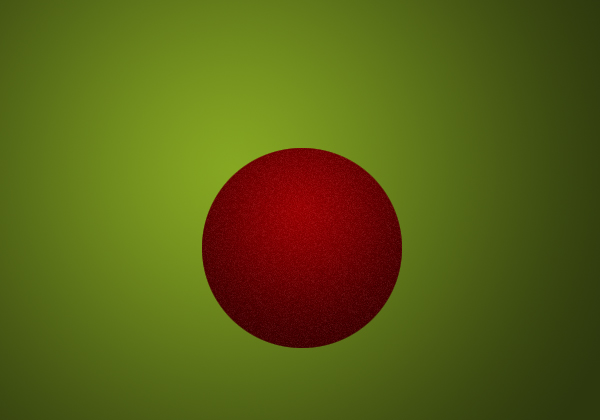
We don’t want it quite that strong so lower the opacity to 50%.
Step 4
Create a new layer and make a selection using the elliptical marquee tool similiar to the one below.
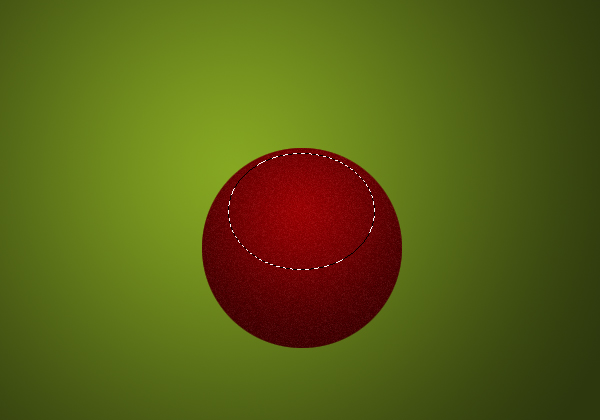
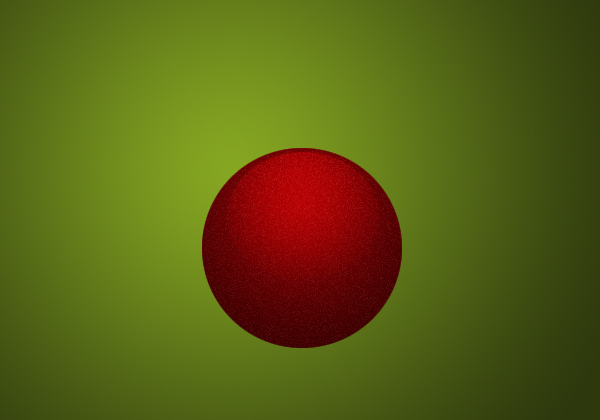
Fill the selection with a radial gradient from white to transparent. Start from near the top and drag to below the bottom of the selection to get that cut off look.

Set the blend mode to Overlay and the opacity to 40%.
Step 5
Create another new layer and make a selection nearly covering the entire ball like this.
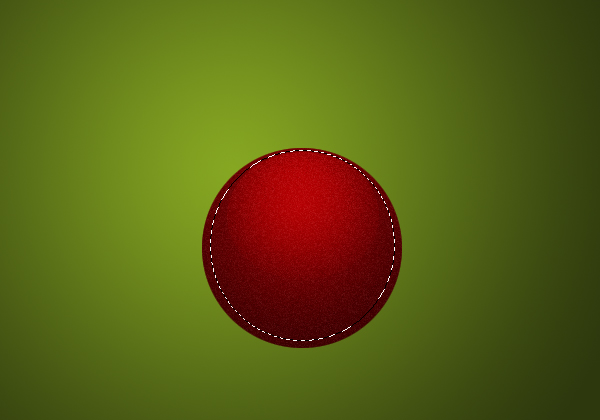
Fill this selection with another radial gradient from white to tranparent. This time start at the top and drag towards the bottom (but release before the edge of the selection so it fades out smoothly).
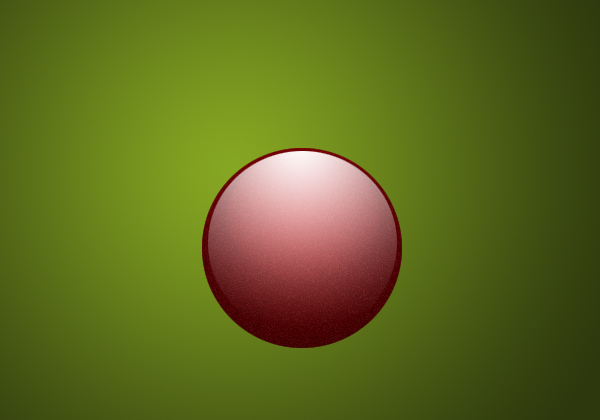
Set the blend mode to Lighten and the opacity to 20%.

Step 6
Now for the last shine effect create a new layer and select the area of the ball (Ctrl + Click layer’s icon).
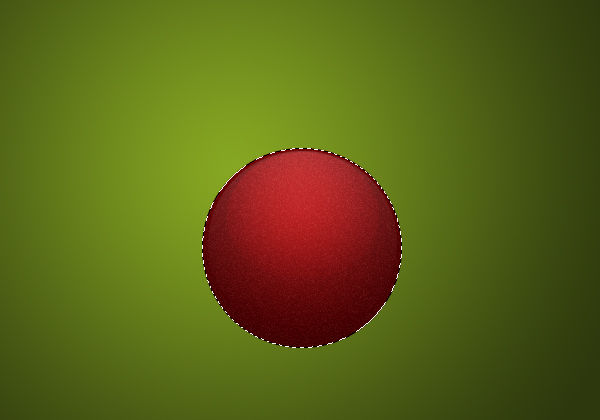
Use the radial gradient tool again and apply a gradient in the bottom left of the selection.
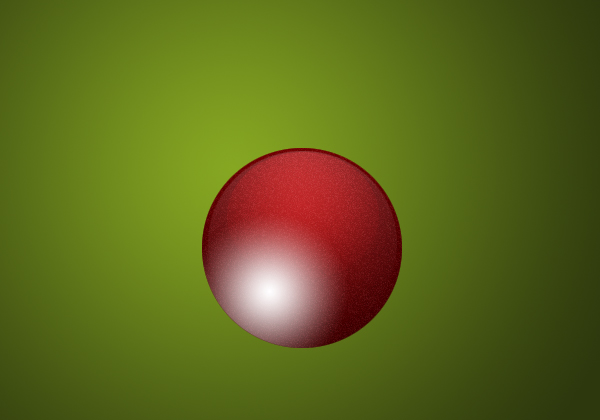
Set the blend mode to Overlay and the opacity to 80%.
Step 7
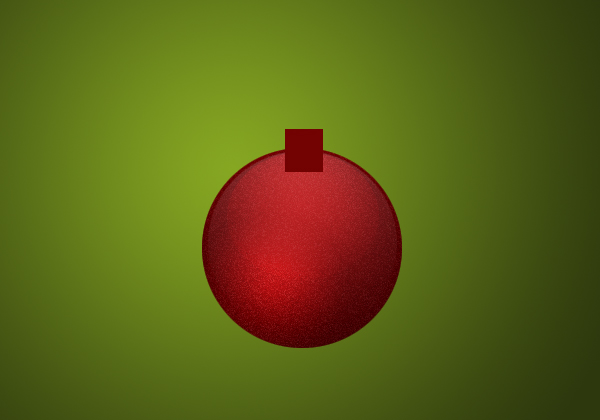
On a new layer make a rectangle selection above the ball and fill with the colour #720202.
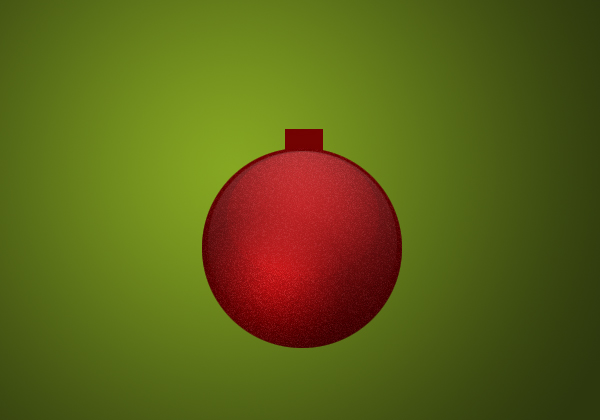
Move this layer below the ball (in the layers window).
Step 8
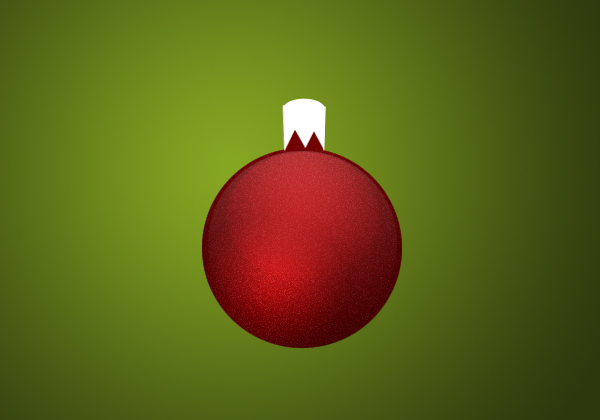
On a new layer use the pen tool to make this shape and fill with white.
Step 9
Apply these layer styles to the top part. Right click the layer and select blending options to access the layer styles window.
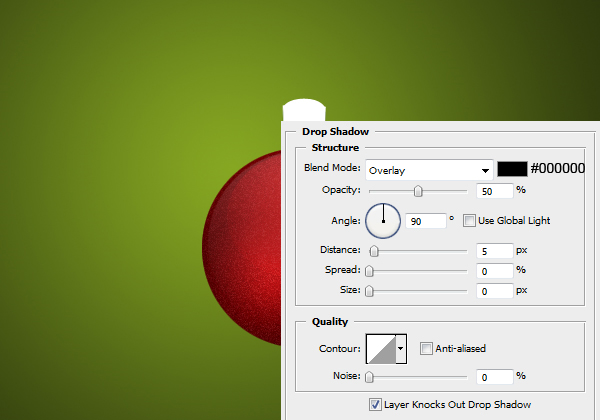
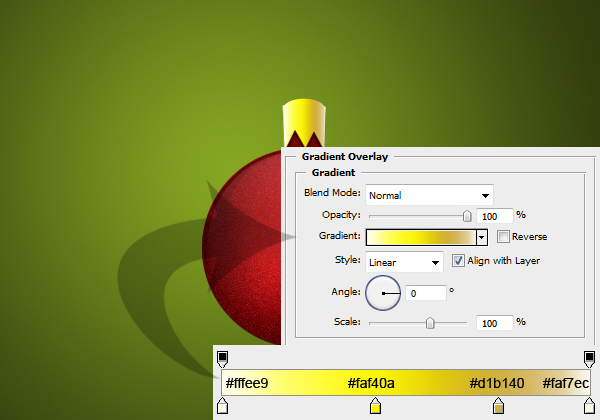
Result:
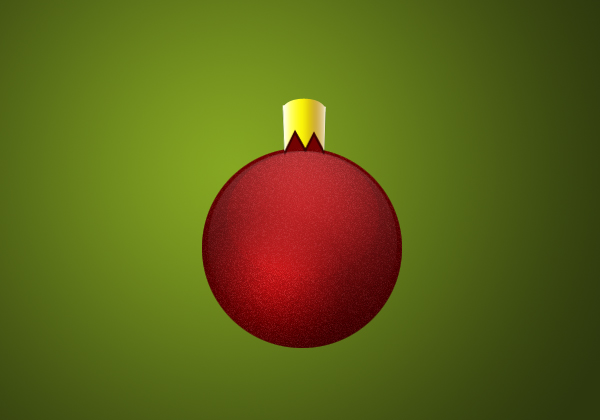
Step 10
Set your foreground colour to white, the brush size to 2 pixels and create a new layer. Using the pen tool make a path like below and right click the path and go stroke path with brush.
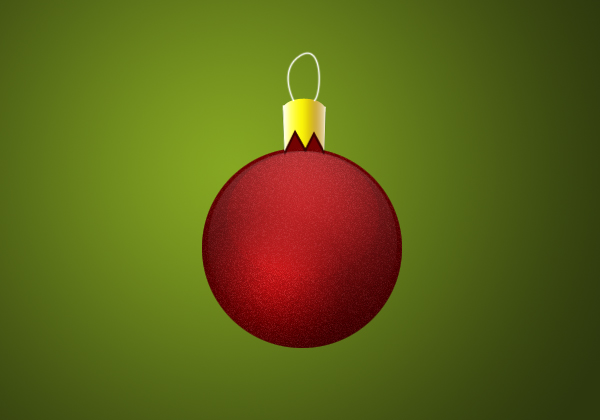
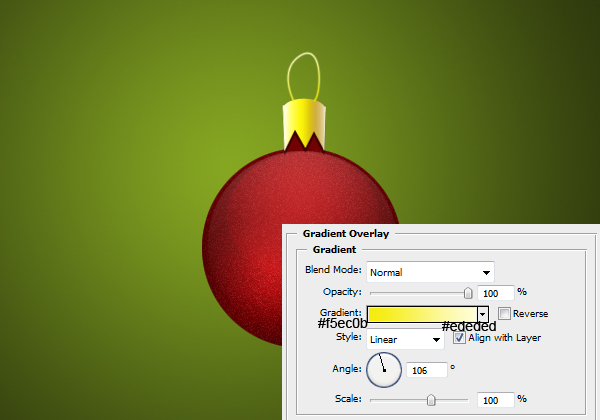
Apply a gradient overlay to this layer.
Step 11
Create a new layer and select all of the objects (Ctrl + Click the layers icon and then Ctrl + Shift + Click the others). Fill this selection with black.
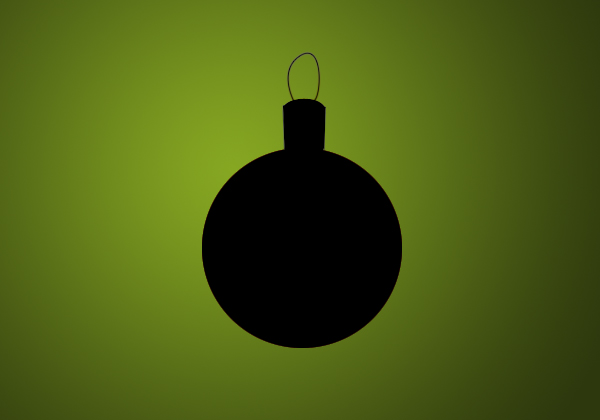
Set the blend mode to Multiply and move it below the other layers. Shift this shadow layer up and across to the right by 3 pixels.
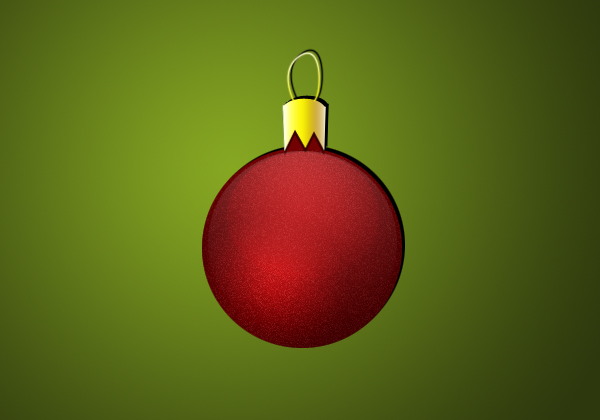
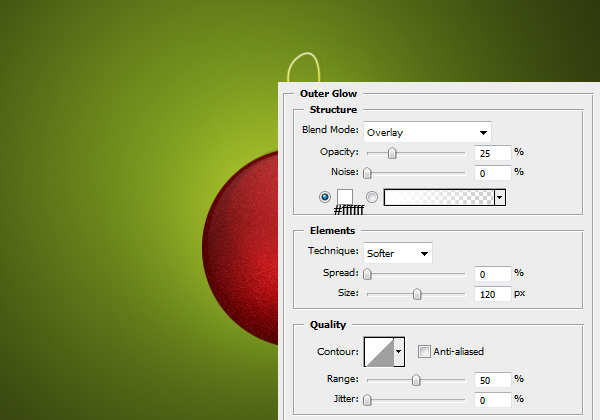
Set the fill to 0% and apply this outer glow.
Step 12
Duplicate this shadow layer and remove the layer styles (right click > clear layer styles). Set the fill to 100% and the opacity to 50%. Go Filter > Blur > Guassin Blur and enter 5 pixels.
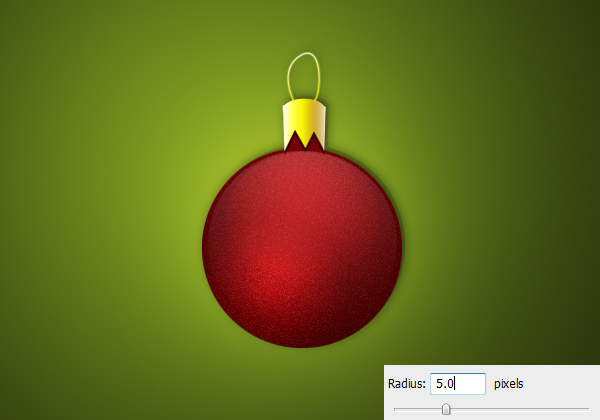
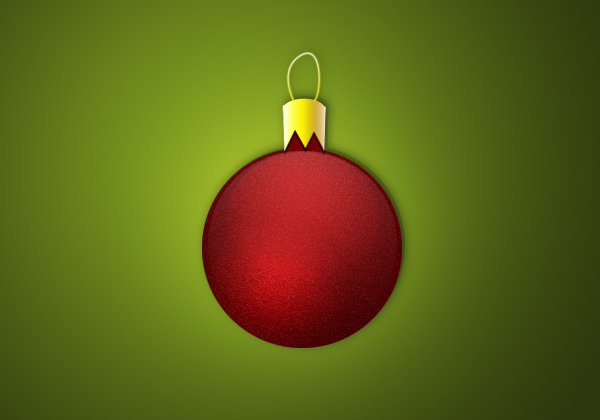
Result:
For more inspiration, I present 10 awesome Christmas catalog designs around the web.


Gonna try to make one right away! :)