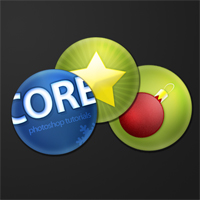
Badge Buttons
In this tutorial I’ll be showing you how to create your own shiny buttons that you can stick different pictures on.
Step 1
Create a new document (I’ve chosen 600 by 420 pixels) and fill with a dark radial gradient – I’ve used the colours #2e2e2e and #1b1b1b.

Step 2
Create a new layer and select the elliptical marquee tool and make a fixed size selection in the middle of the document 180 pixels wide and 180 pixels high.
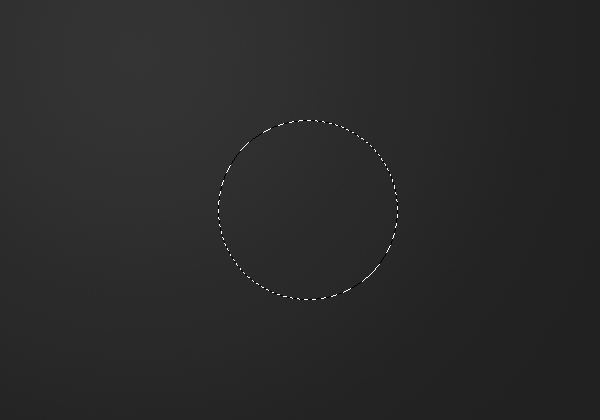
Step 3
Select the gradient tool and set your foreground colour to #c21e18 and background to #831212. Fill the selection with a radial gradient.
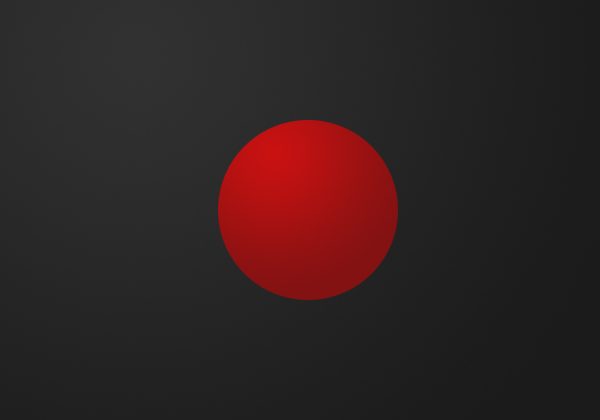
Step 4
Now apply the following layer styles by right clicking the layer and clicking blending options.
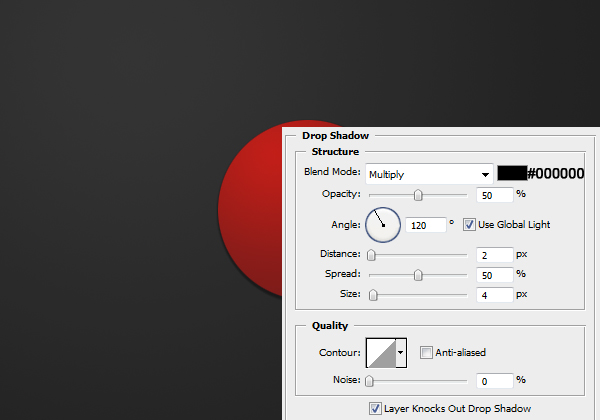
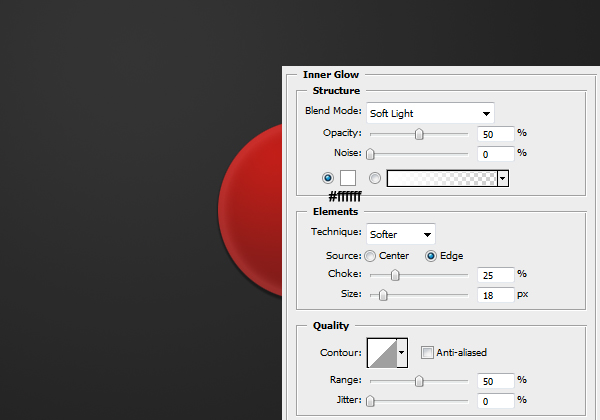
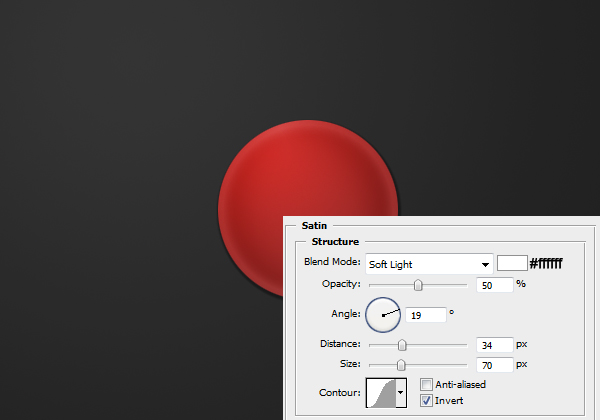
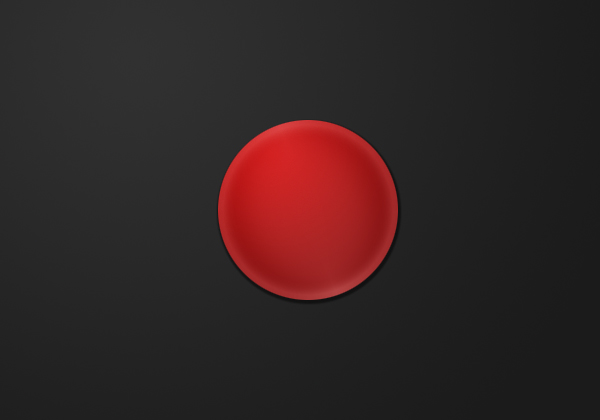
Result:
Step 5
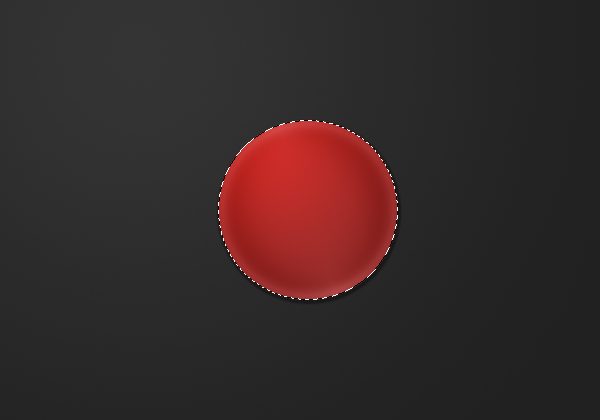
Next we are going to be adding a shine effect to our badge, so on a new layer select the area of the button by going Ctrl + Click the layer’s thumbnail.
Step 6
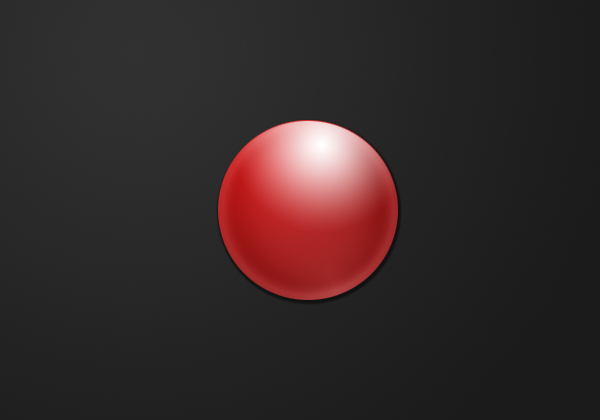
Select the gradient tool again and set it on radial. Apply a gradient to the top right of the selection from white to transparent so you have something like this.
Step 7
Set the blend mode to Overlay and the opacity to 80%.

Step 8
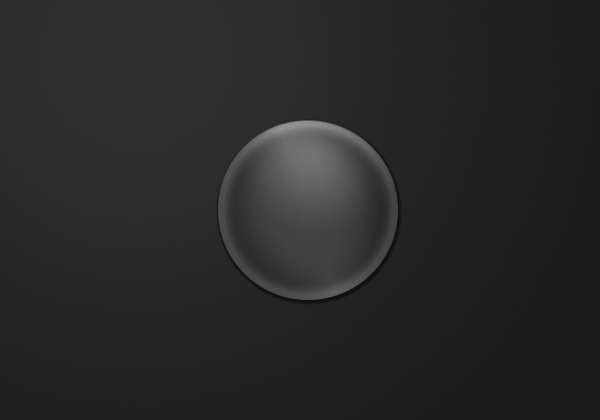
Now set the red layer’s fill to 0% – this means that you can not see the red, however because the opacity is at 100% the layer styles are still there.
Step 9
Find a picture (maybe of some one or some thing you know / like) and stick it in behind this button layer. I’ve just chosen to stick a previous tutorial’s outcome in. Make sure that you cover the entire of the button layer styles (you might have to enlarge your image if its quite small by going Edit > Transform > Scale).

Step 10
Because my image I put in was square the and the button is round we have some overlapping areas, to get rid of these we want to select the area of the button (like before – Ctrl + Click the layers thumbnail) and invert the selection (Select > Inverse) and hit delete (make sure you have the image layer selected).

Step 11
Here are some other buttons – play around with the opacity levels on the shine and layer style settings to get the right balance for the image.



Super! Its kinda of the Vista Avatar tuturial that i’ve done a long time ago..
But still..! Very nice, clever but nice :)
Awesome! are you one person or more making all these?
Thanks JonkoINL & Zieux, and yes it’s just me behind the site 100% :)
it’s very nice
Thnks :)
these real good.thanks
Thanks for this tutorial
thanks for such fantastic tutorials
thanks for the help with the inverse selection tools! didnt knew how it worked .. thanks again :)
Amazing simply amazing thanks a lot !
I used to do a lot more work to get this effect :)
Thanks for the comments guys, appreciated :)
Great tutorial, no steps missed. Bravo!
I did all the steps exactly how it shows to and I’m still extremely confused. Help?