Mastering the Preset Manager
The preset manager is where you can manage (import/export) brushes, swatches, gradients, styles, patterns, contours, custom shapes and tools. In this tutorial I’ll teach you how to load these presets into your Photoshop from a downloaded file and also how to export a group of presets as a set.
Downloading the Preset
So you’ve found a great list of brushes and you’d like to use some in your designs. Firstly download the preset and if the downloaded file isn’t in the appropriate format (ie .abr for brush files) and is in .zip or .rar format, that means that you need to unzip that folder to get to the brush. My favourite program to do this is 7-Zip which is free. Below is a list of the file extensions for the available presets.
- Brushes: ABR
- Swatches: ACO
- Gradients: GRD
- Styles: ASL
- Patterns: PAT
- Contours: SHC
- Custom Shapes: CSH
- Tools: TPL
Opening the Preset Manager
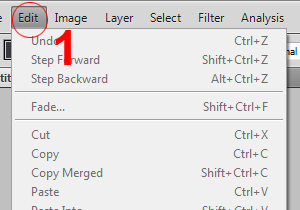
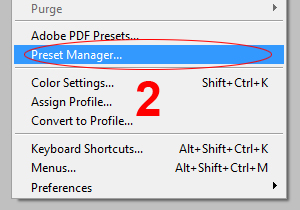
To access the preset manager go Edit > Preset Manager.
Loading Presets
So if you wanted to import some brushes into Photoshop then you’d select the Preset Type: Brushes (click on the down arrow and then click on Brushes).
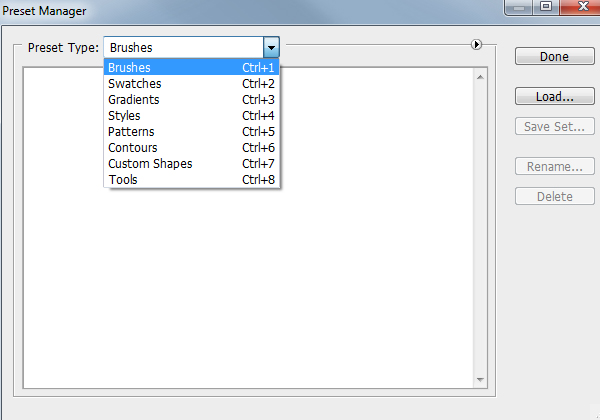
Now click “Load…” and search for your downloaded brush(es) and click “Load”.
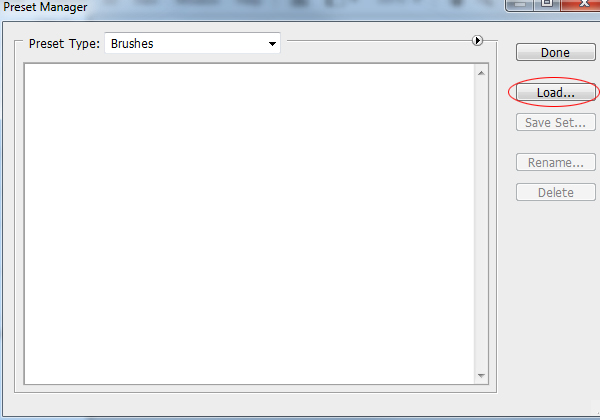
Now that you have the brushes loaded you can click “Done” and select the brush tool and choose which brush you’d like to use :)
Exporting Presets
Say if you have a collection of brushes (or any preset) that you’d like to save as a set for backup (moving computers etc) or to share with others, go back to the Preset Manager and select all of the brushes you wish to export (shortcut: Crl + A for all presets) click “Save Set…”.
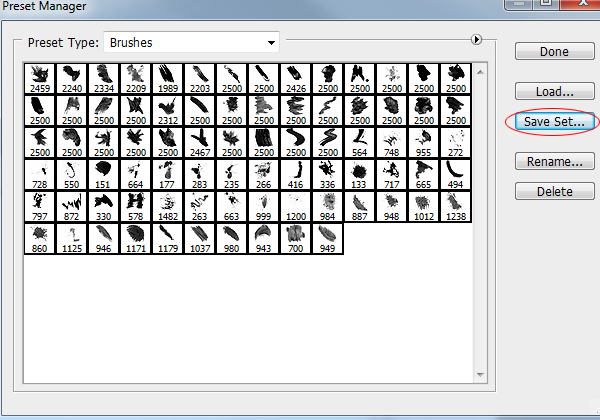
Choose a file name and click “Save” and voila you’ve got your own set of brushes or whatever preset set you created :)
Renaming Presets
To rename a preset, open up the preset manager and select the preset(s) that you want renamed and click “Rename…”.
Deleting Presets
Again, with the preset manager open select the preset(s) and click “Delete”.


Thanks for the quick tip and knowledge shared